
TABLE OF CONTENTS
Putaway
Putaway is the second step in the Receiving process. Once the inventory has been received into the warehouse it must be Putaway into storage. The User uses the Putaway app to move the inventory received from the Cart into a bin Location.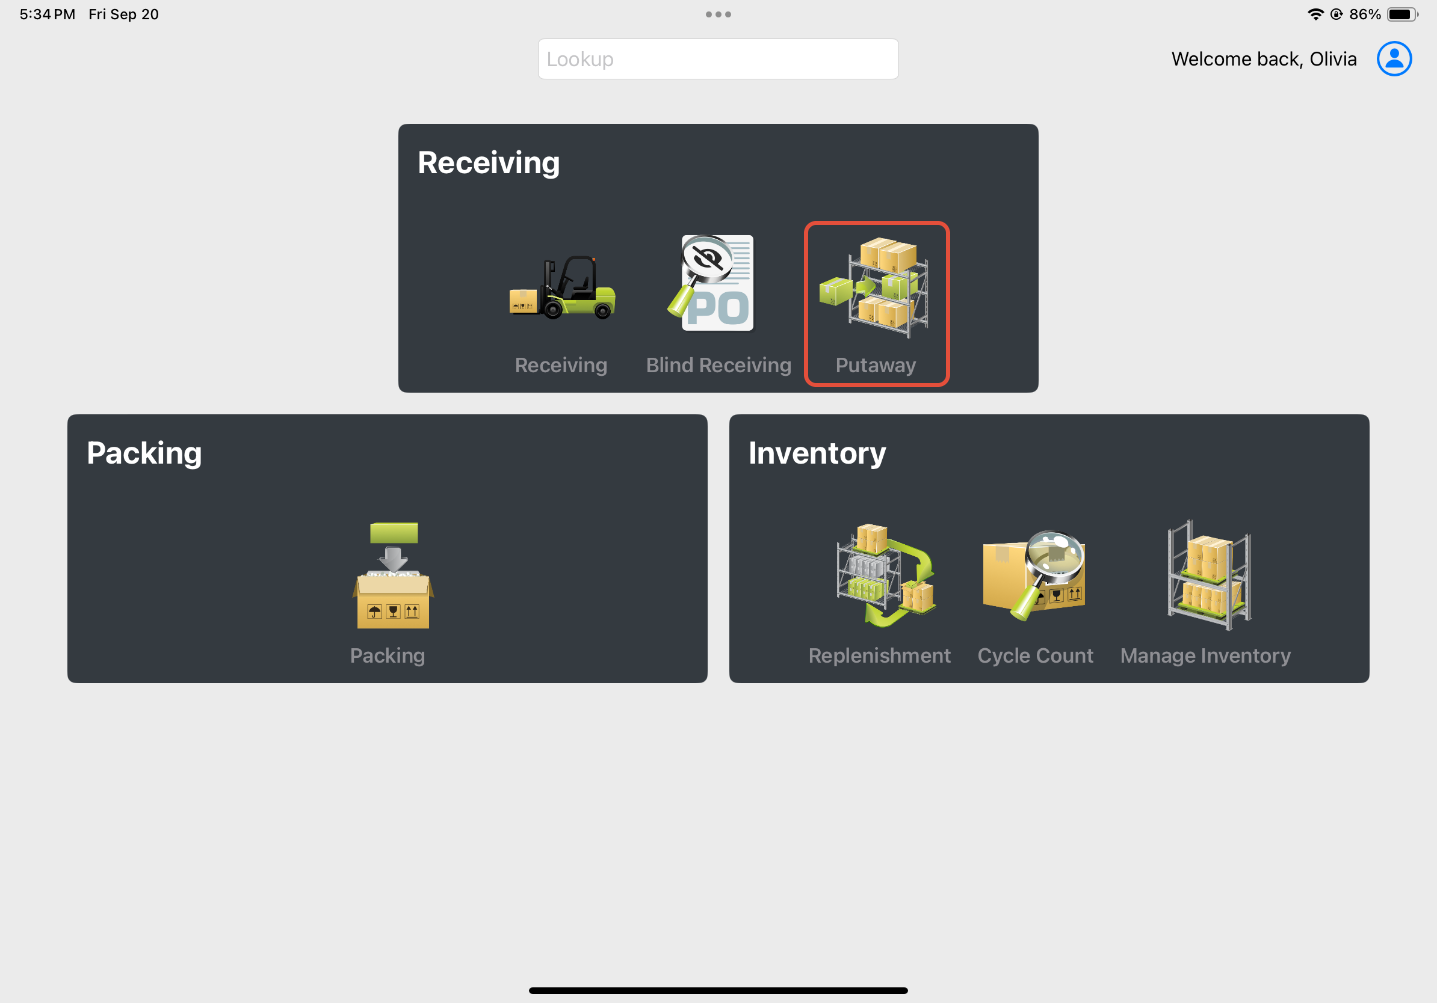
Putaway Process
-
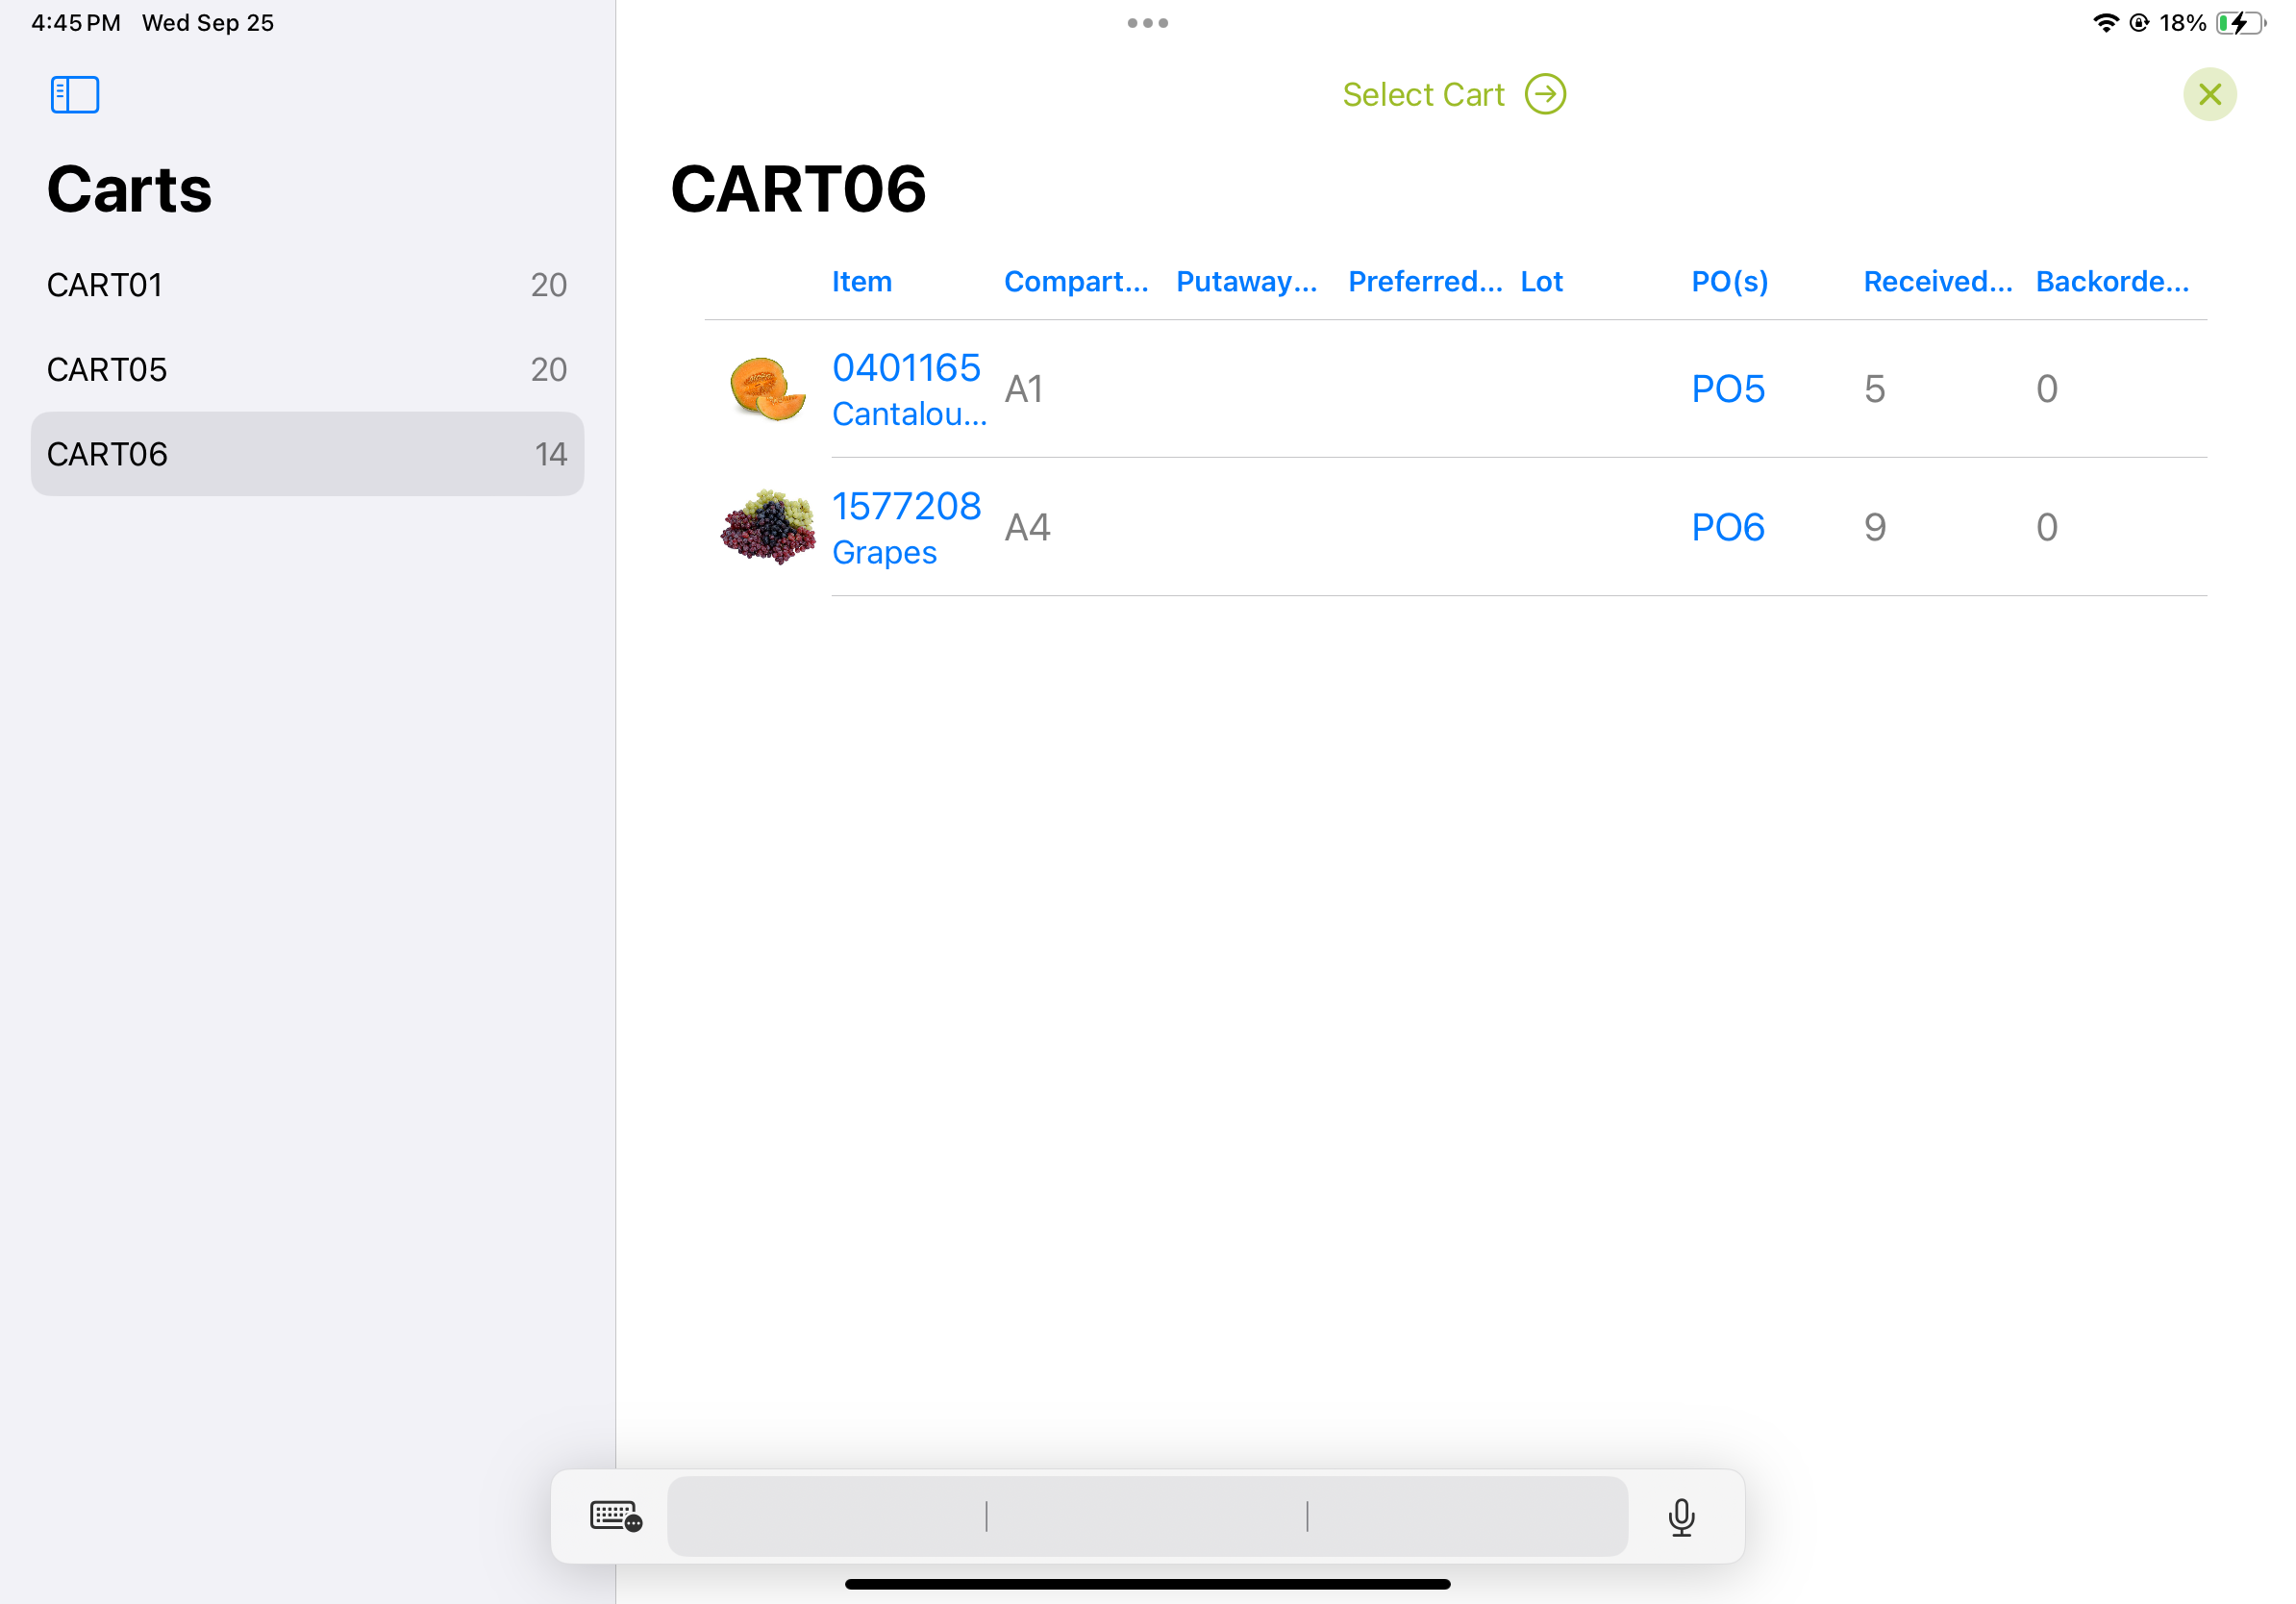
Open the Putaway app. Scan a Cart to Putaway from. If unsure where to start, tap HERE to select from available carts with associated Putaways.
-
If the HERE option is selected, review the available Carts and what products are on them, then Select which Cart to Putaway by tapping on the Select Cart at the top of the screen.
-
- Once the Cart has been scanned or selected a Putaway List will display all the inventory received to the cart. Columns include:
- Item Details - Sku, Item Description, and Image (can be tapped on to expand)
- Cart Compartment - this can be assigned during Receiving, helping to further organize items on a cart
- Putaway Zone - Items can be assigned to a Putaway Zone to help with directed Putaways
- Preferred Location - Dedicated location assignment on the item for Inbound (different from a Home Location which is designed to be a dedicated location to pick from)
- Lot Number
- PO(s) - Can be associated with multiple Purchase Orders if received against a BOL
- Received Qty - Quantity Committed during the Receiving process
- Backorder Qty - If the Available calculation in Inventory is negative, the negative quantity shows as 'Backordered' to assist with informed Putaway

- Scan/Tap on the Item to open the Putaway screen.
- Below the item will list locations in the warehouse where the Item currently resides and their associated quantities, a Home Location or Preferred Location, and Lot Numbers (if applicable). These are to inform the user for determining the most effective location to Put the product away to.
- Scan/Tap the location to move the item into. Enter a quantity and Commit. The inventory will be immediately moved in the scanned location off the Cart, completing the Putaway. The screen will move back to the Putaway List.
Additional Features
Putaway List View Management
Tapping on the eye icon on the top right of the grid allows the view to be customized according to user preference. If certain columns are not used during the Putaway process, they can be toggled to a hidden list and removed from the Putaway List view. Selections made will be remembered per user every time they come back to the Putaway app.
Tapping on the list icon on the top right of the screen allows the Putaway List to be sorted. Columns can be sorted in layers by selecting the order of the columns to be sorted. For example sorting by the Putaway Zone and then the Preferred Location to ensure the most effective route through the warehouse. This sort will be remembered per user and remain when they reopen the Putaway app.
Set Home Location
During the Putaway the Home Location, Preferred Putaway Location, or a Dedicated Location can be set on an item by tapping the house icon at the top right of the screen.
After the item has been scanned from the Putaway List, tap on the icon to be taken into the assignment function. Select the Location type to set from the dropdown on the top left of the screen, then scan the location.

There is no confirmation once the Home, Preferred, or Dedicated Location is set via this method. The screen remains in the assignment function if any more dedicated location assignments need to be set on other items. To go back to the Putaway, simply tap the Putaway button at the top left of the screen.
Empty Locations
A list of empty locations can be generated for help with Putaways. In the Putaway screen, tap on the empty shelf icon at the top right corner. A few options are available to help with finding the best empty locations:
- Preferred: this looks for the nearest empty locations to the item's Preferred Location
- Putaway Zone: this looks for empty locations in the item's assigned Putaway Zone
- Proximity: this looks for empty locations nearest to a scanned location entry

Edit Received Quantity
If the quantity of a product does not physically match up with the Received Quantity, a user can edit the Receipt by flagging an error. To do so, swipe to the left on the Putaway List view on the item that needs to be flagged. An orange flag icon will appear to be selected.
Once tapped on a Receiving Error popup will display with the logged details about the PO and item. A Reason Code can be selected and the Problem Quantity determined. A custom note can also be added if needed. Once the details have been entered, tap Submit. The Problem Quantity selected will be subtracted from the Receipt record and removed from the Putaway Cart.

Flagging an error on the Receipt during Putaway will only allow quantity to be subtracted - not added.
Putaway All
All Putaways on a Cart can be moved into a single location in a single step using the Putaway All button. This is a User Group Setting that must be enabled to use. Tap the Putaway All button at the top right of the Putaway List, after scanning/selecting a Cart. Scan a location to move all Putaway items into. Putaways will all be completed immediately and cleared off the cart. Screen will go back to prompting for a cart scan.
This feature is great to utilize for pallets. Sort the Receipts into a Cart by Pallet. Then move the entire pallet into a location on the rack, using Putaway All to move all items at the same time, creating inventory.