
Manage Inventory - WOS Fulfilment
TABLE OF CONTENTS
Manage Inventory is a simple way of moving inventory in and out of storage with Puts and Pulls, or moving it around the warehouse from one location to another with the Move or Bulk Move function.
The Manage Inventory app helps the User decide where best to store inventory or where to pick inventory from by listing the current locations for a specific item.
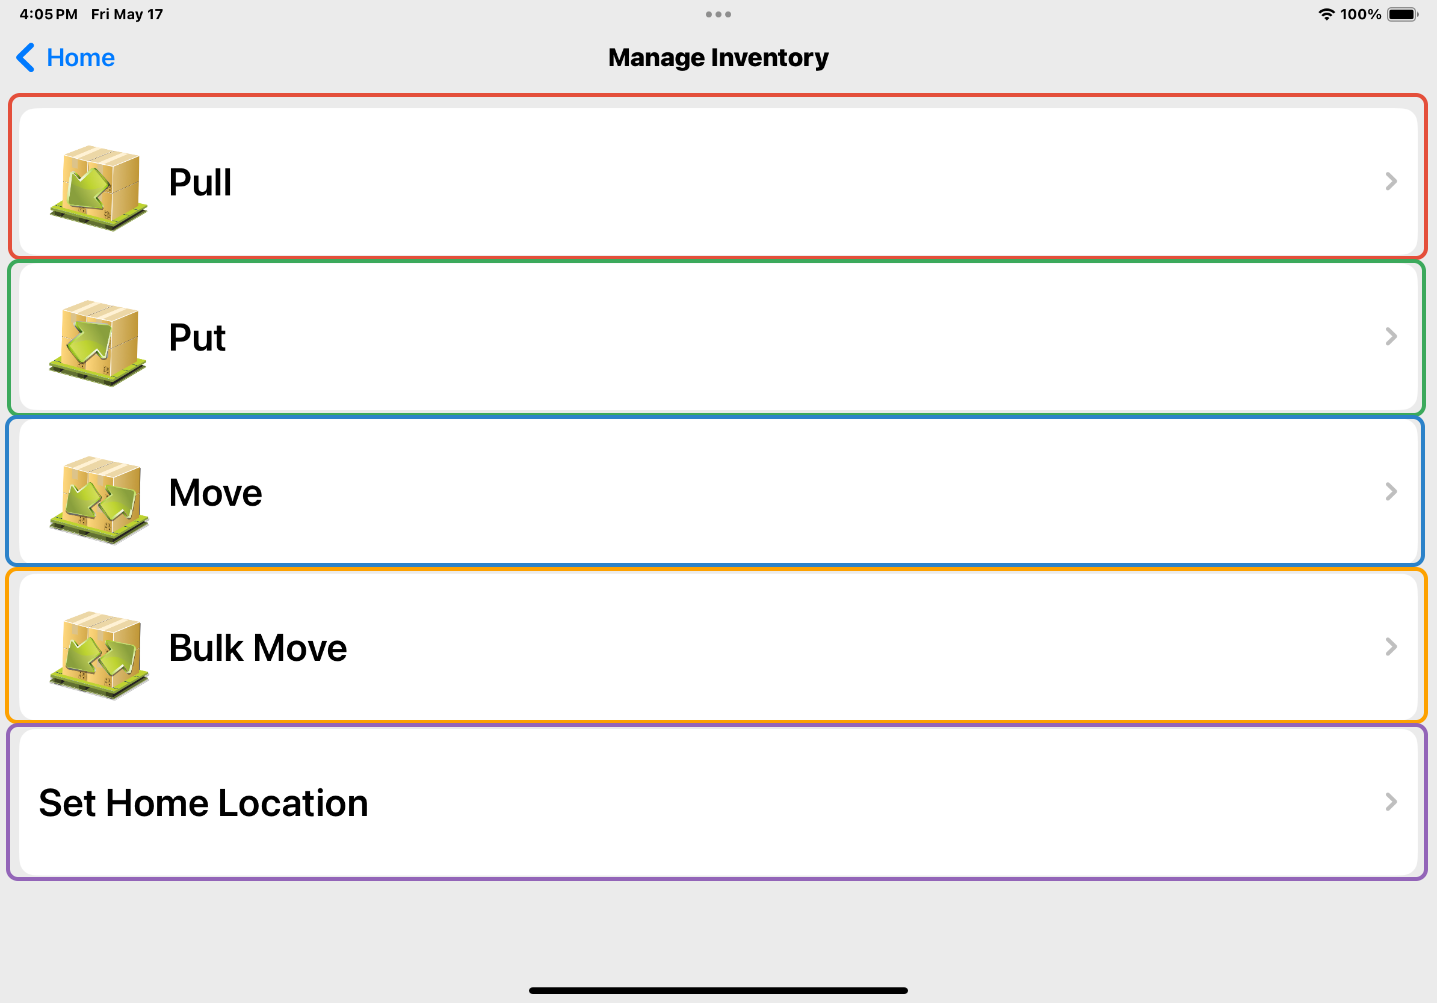
Manage Inventory Functions
Pull - Pull Items out of a Location. Inventory is subtracted. This action is reported to Host via API trigger if configured.
Put - Put Items into a Location. Inventory is added. This action is reported to Host via API trigger if configured.
Move - Move a quantity of item from one location to another without subtracting or adding inventory. This action is reported to Host via API trigger if configured.
Bulk Move - Move all Items out of a single Location and move them to a new Location. This function skips the need to scan everything in the Location. Helpful for moving large objects like pallets, that might have multiple items stored on them.
Set Home Location - Set the Home Location for an Item.
Operation
The Pull, Put, Move, and Bulk Move functions all have the same operational flow:
- Scan an Item
- Scan a Location (FROM location if using a Move function)
- Scan a TO location if using a Move function
- Determine a Quantity


The Location and Item scan are interchangeable for what is scanned first.
If an Item is scanned, the screen will display all Locations where the Item currently resides. Locations can be sorted by:
- Location (in order of pick sequence)
- Item
- Zone
- Lot (this field is only visible if Lots are enabled on item)
- Quantity
When a particular field is chosen as what to sort by, the sort can be toggled between ascending and descending by tapping the field, which will have an "^" appear next to it.
Each Location’s icon represents its Location type:

If a Location is scanned first, all items and quantity stored in the specified Location is listed. The operation is the same, scan the Item, enter the quantity, and hit the <OK> button.
Buttons

When touched will provide a list of 5 empty locations. The Empty locations are listed in Location -> PutAway Sequence.

The Search Icon allows you to search for an Item. This is sometimes referred to as "Partial Search" because the search will look for the entered value anywhere in the item number or item description. The user doesn't need to know the exact sku or description to search for an item.

The Set Home Location Icon allows you to set a Location as a Home Location for an Item.

The Start Over button will clear whatever you have scanned/searched for.

The History button in the entry field will show the previous 5 scans.
Note: Pull, Put, Move, and Bulk Move buttons are controlled by User Group permissions.
To configure Manage Inventory, go to Admin-> User Groups-> Manage Inventory.