TABLE OF CONTENTS
WOS has the ability to import and export CSV files into/from WOS Manager.
Functionality
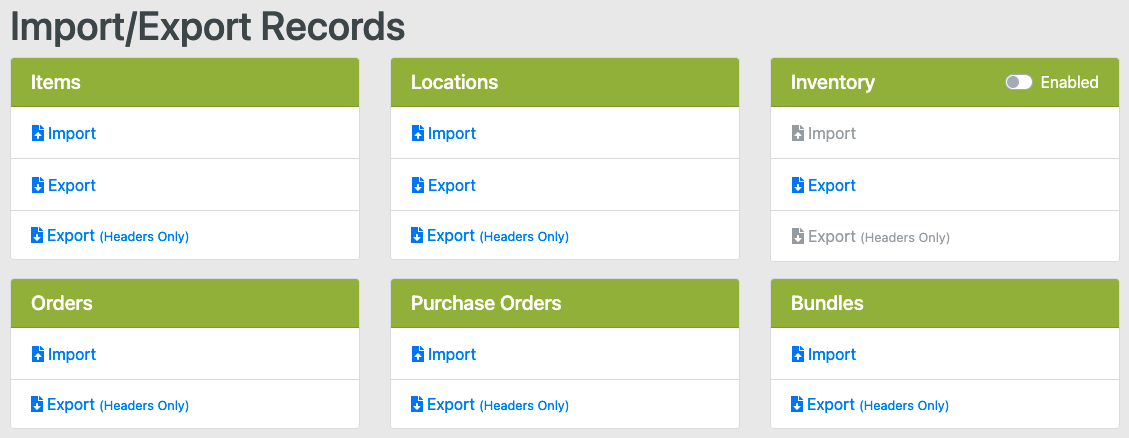
The Import/Export Records functions are accessible under the Admin -> Import/Export Records menu option. This screen supports normal WOS Manager security features.
Export Files
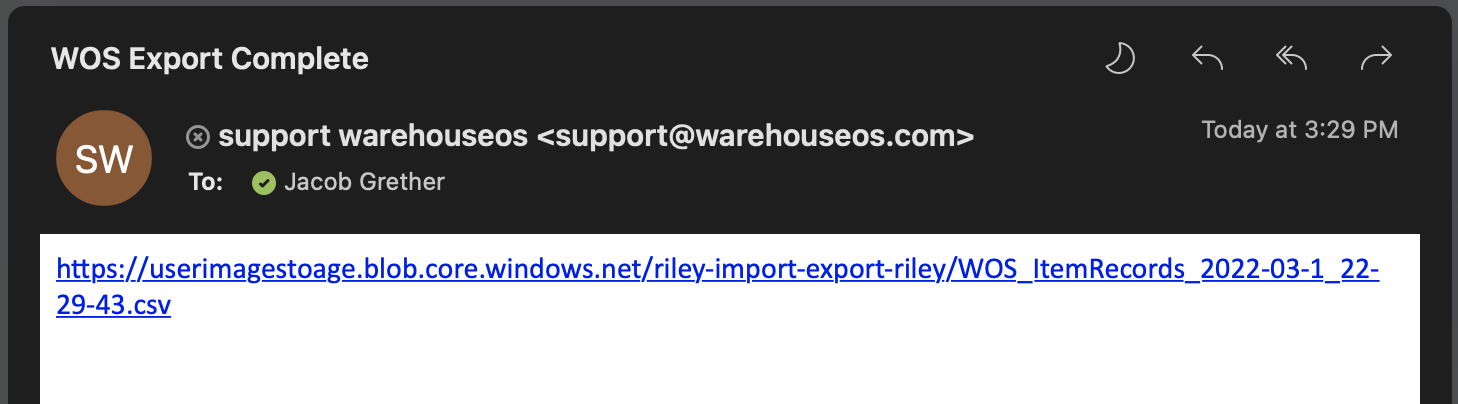
View all currently stored data under any of these categories by clicking the "Export tab". The Generated CSV Files will be sent to the entered email address.
Click on the link sent via email to download the CSV file which can be opened in Excel or another spreadsheet viewer.
Import Files
The following CSV files can be processed:
- Items
- Locations
- Inventory
- Orders
- Purchase Orders
- Bundles
To Create New Object via CSV:
- Find the object to import (e.g. Purchase Orders) and use the Export (Headers Only) option
- The headers exported will be the exact headers needed for the Import
- Open the exported Headers in Excel or Google Sheets
- Fill in the fields on the spreadsheet with the object's information, making sure to fill in the required fields (see Required Fields for reference)
- Any fields/columns left blank should be deleted from the spreadsheet
- Save As a CSV file
- Navigate back to WOS and select the Import option
- Drag or Find the file to Upload and enter an email address
- The email address will be notified if errors are found and the Import is incomplete or unsuccessful
- The phone number entered is optional, it will receive a text when completed or failed
- Click on Upload
To Update Existing Objects via CSV:
- Navigate to Admin -> Import/Export Records and use the Export option
- Open the emailed file in Excel or Google Sheets
- Consider following the steps below to import CSV data into a Spreadsheet to avoid data loss or corruption
- Edit the desired fields and objects in the spreadsheet
- Any objects NOT being edited can be removed from the sheet and do not need to be included in the import, they will not be deleted from WOS
- For example, if editing a few items only feel free to find those and delete all other items. The other items will not be deleted from WOS, only the included items will be updated
- Any objects NOT being edited can be removed from the sheet and do not need to be included in the import, they will not be deleted from WOS
- Once the edits are made remove any empty and unused fields or columns in the sheet
- Be sure to leave any columns that HAVE data even if not edited. Blank or missing fields will delete existing data in WOS upon Import, with the exception of Item Aliases, see below
- For example, if editing an item's Pickface Min and the item already has a Home Location set - the Home Location needs to be included in the Import or it will be erased in WOS
- Be sure to leave any columns that HAVE data even if not edited. Blank or missing fields will delete existing data in WOS upon Import, with the exception of Item Aliases, see below
- Save As a CSV file
- Navigate back to WOS and select the Import option
- Drag or Find the file to Upload and enter an email address
- The email address will be notified if errors are found and the Import is incomplete or unsuccessful
- The phone number entered is optional, it will receive a text when completed or failed
- Click on Upload
Only Items and Locations can be updated through this process. Orders cannot be updated through CSV at all. Purchase Orders and Bundles CAN be updated through CSV, but no export option is available. When creating a sheet to update a PO or Bundle, follow the steps for Creating a New Object, if an object exists with the same PO or Bundle Number when importing, it will be updated inside of WOS.
POs can only have lines added or edited through CSV import, lines needing to be removed will need to be handled in WOS Manager.
Required Fields for Import
| Object | Required Fields |
| Items | ItemNumber |
|
Locations |
Name, DisplayName |
| Inventory | ItemNumber, Location, Quantity |
| Orders | OrderNumber, PickMethod, OrderStatus, LineNumber, ItemNumber, Quantity |
| Purchase Orders | PoNumber, LineNumber, ItemNumber, ExpectedQuantity, Value |
| Bundles | BundleNumber, Active (T/F), ItemNumber, ItemQuantity |
Some fields are expecting a number value to equal a variable, see guidelines below:
| OrderStatus | Available | 0 |
| In Process | 1 | |
| Complete | 2 | |
| Hold | 3 | |
| PickMethod | Either | 0 |
| SinglePickOnly | 1 | |
| BatchPickOnly | 2 |
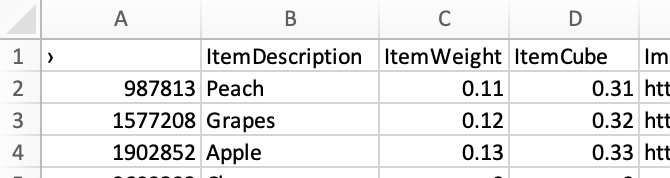
Item Alias Field
When exporting or importing Items, each Alias value will need its own record. When an item with multiple Aliases is exported, there will be a record for each alias value.
This field is the only exception for blanking out existing values in WOS when not included on the import file. When importing existing items as an update, the ItemAlias field can be EXCLUDED from the import even if WOS stores existing Alias values. The reason for this exception is due to this field commonly being misrepresented when converted from CSV to spreadsheet/Excel file and back to CSV, it is usually converted to scientific notation as a large number (e.g. 2.54166E+13) and updated as such in WOS as the Alias.
This can cause significant issues operationally and is difficult to undo, so this exception has been made.
It is always recommended when importing an update to save a copy of the original export data. In the event of unwanted accidental changes, the saved copy can be reimported to start over.
Importing Inventory
The Inventory Import and Export options are disabled by default when first opening the Import/Export Records page. This is by design to bring more awareness to the potential impact using this Import feature can have.
Importing Inventory is significant because it is irreversible, there is no 'undo' button once inventory is imported via CSV. Please make sure quantities and locations are accurate.
The Inventory Import is also only an ADD feature. It does NOT override the current inventory levels in WOS, it will only ADD to it. There is no subtracting inventory via CSV, a quantity greater than 0 is required.
When an inventory file is imported, the records are all attempted individually - meaning some records can be successful while other records fail. When partial files are successful, an email will be received with all records that failed and the corresponding message. This is typically due to a Not Found item in WOS, a Not Found location in WOS, or a negative or 0 quantity.
Once the errors have been addressed if the missing records need to be imported again, identify them in the original file and import separately to avoid doubling the inventory records that already successfully imported.
Quick steps to import CSV data into a Spreadsheet
You should never make changes inside a CSV file and save it. MS Excel easily corrupts CSV data. If changes need to be made, you should always import the CSV file into a spreadsheet. Once in a spreadsheet, make the changes and then export to CSV. Use that CSV file to import.
From spreadsheet:
- Click Data

- Click From Text/CSV
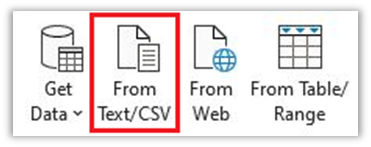
- Select CSV file to import and click Open.
- Click Transform Data

- From the ItemAlias column, click on 123 (Whole Number) and select ABC (Text).
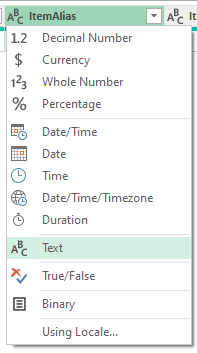
- Click Replace Current

- You can change other columns using the same method.
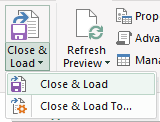
- When finished, click Close & Load to load the data into the spreadsheet.
- When finished with your changes in the spreadsheet, export to CSV by clicking File => Save As => Enter file name => select CSV (MS-DOS) (*.csv) => Save.
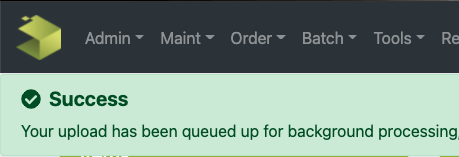
Click Import, navigate to the CSV file, enter your email, then click Upload.
If process is successful you'll see this banner upon completion